How To Setup Personal Blog Page
Host free personal blogging website on github with simple steps. Creating blog post with simple markdown files and display it with build-in beautiful responsive ui design.
How To Setup Personal Blog Page
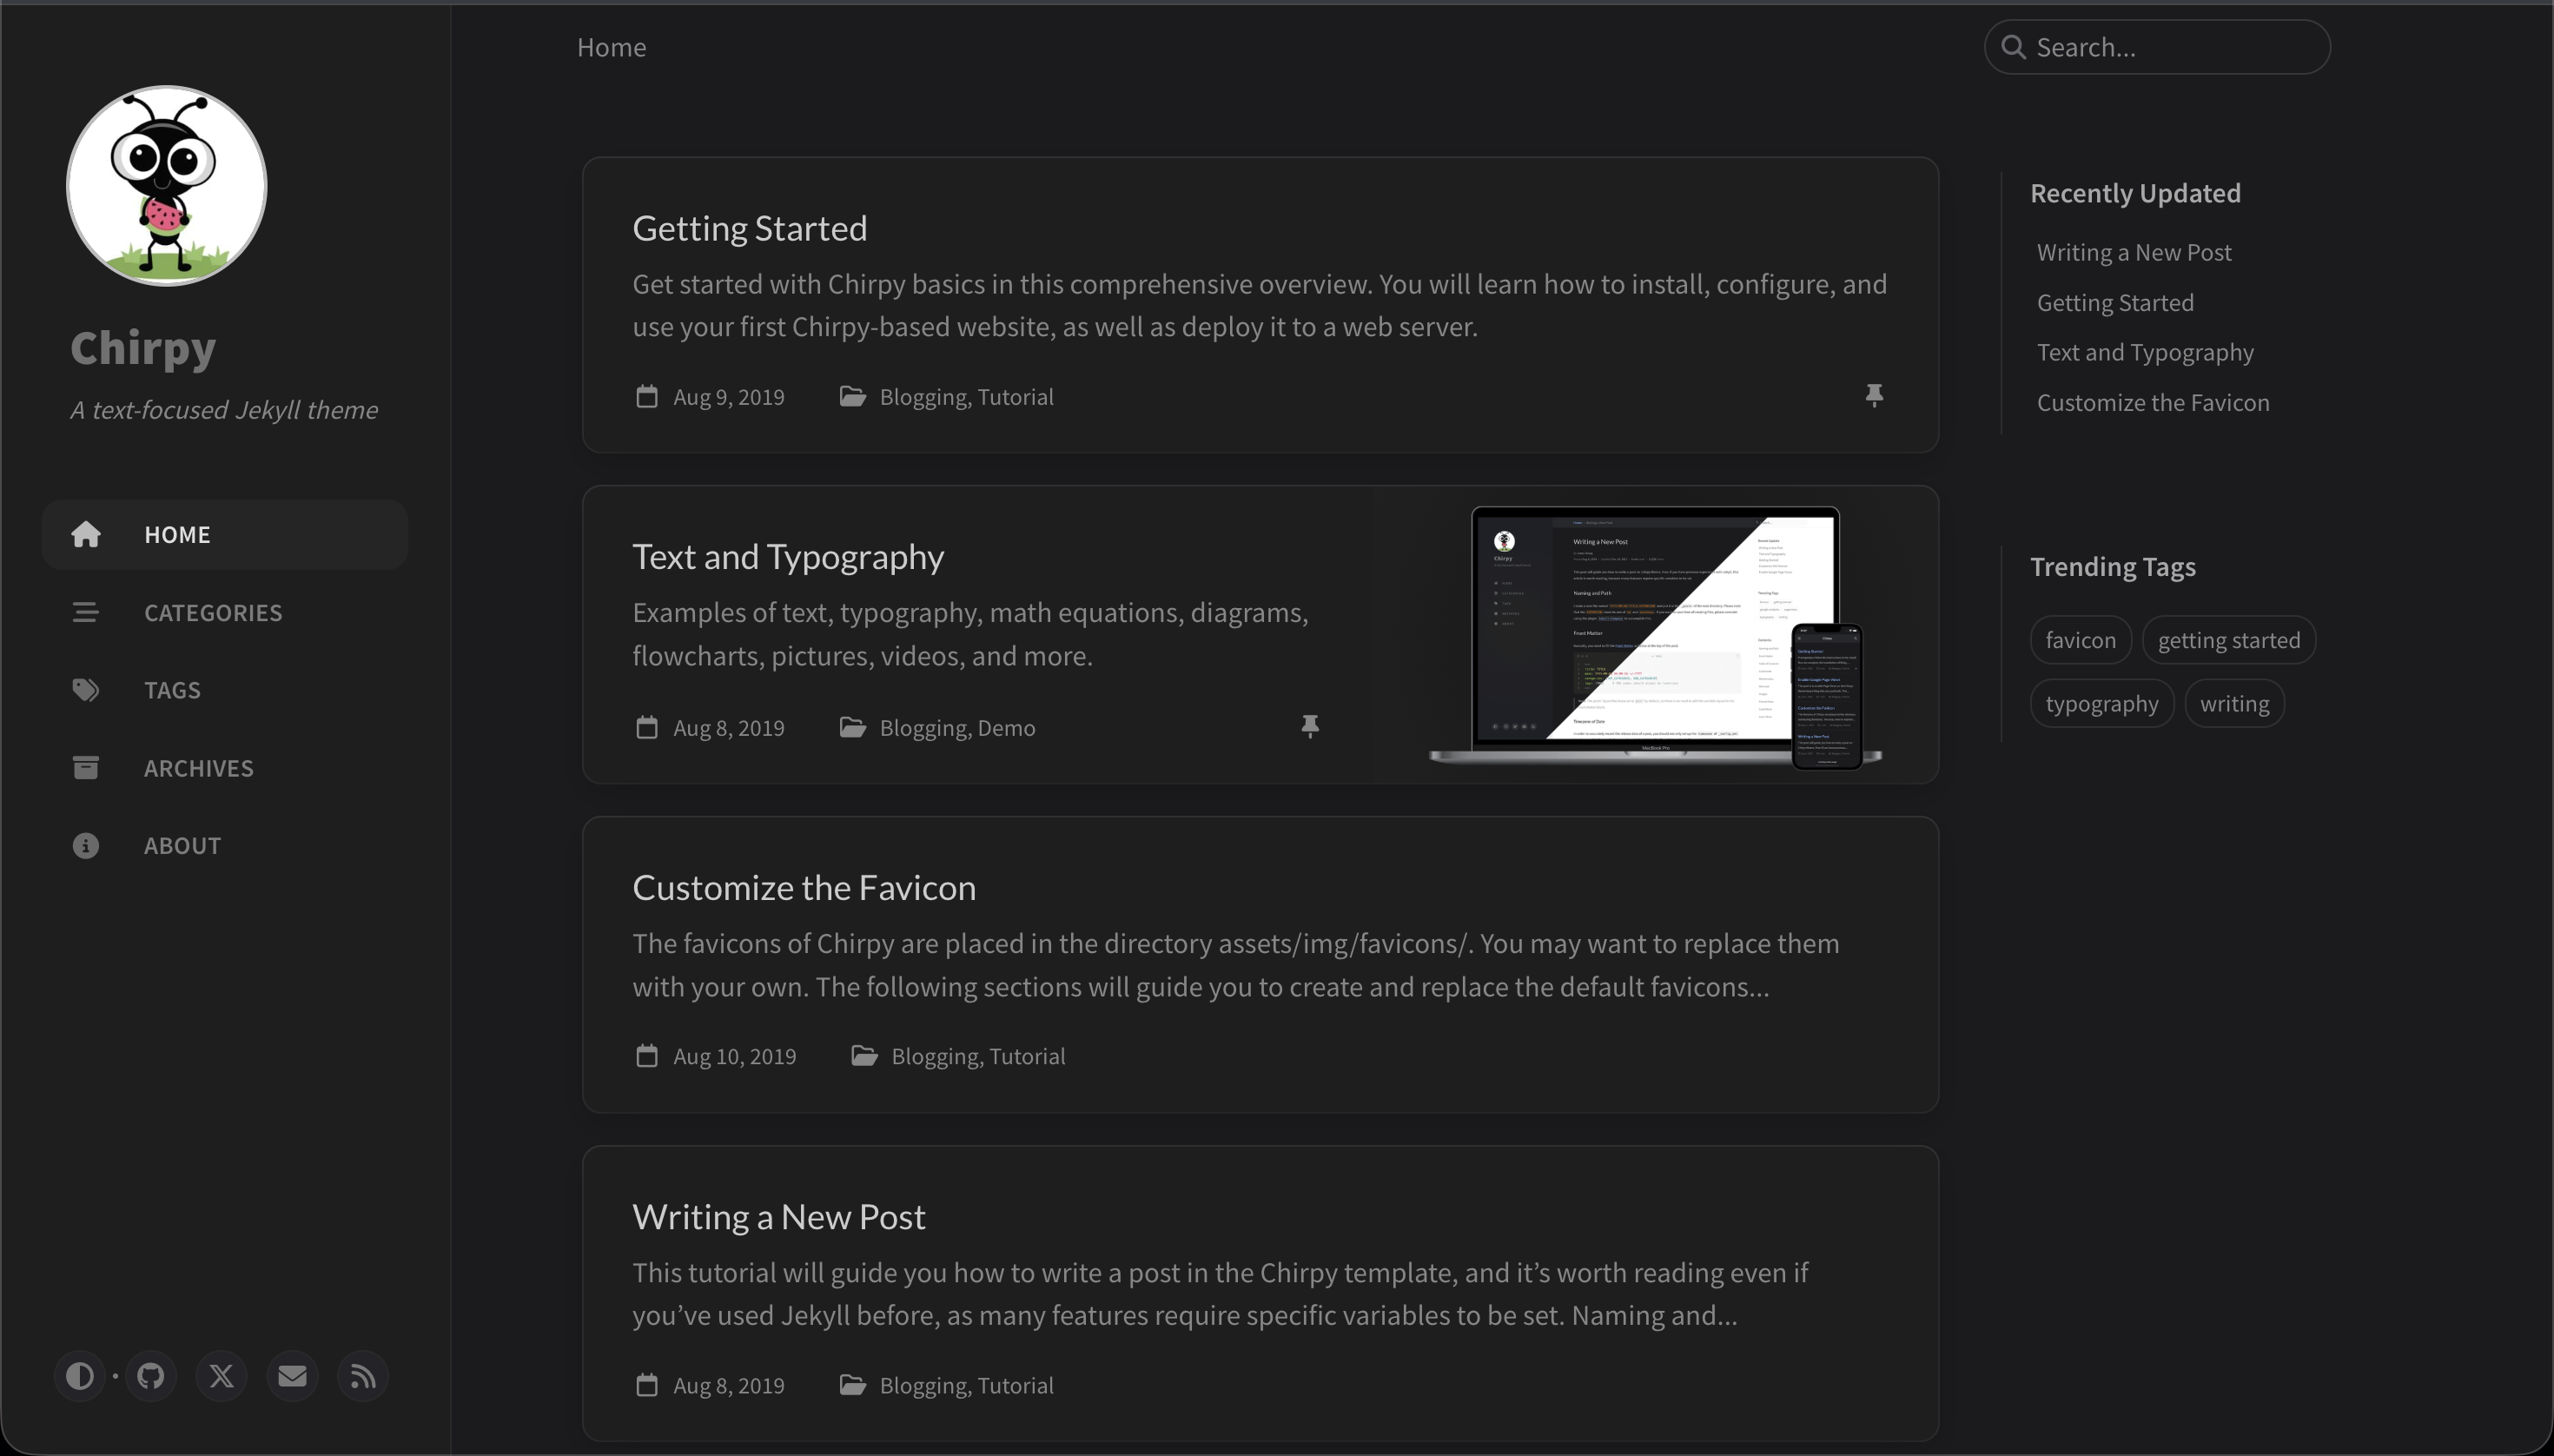
Want to setup personal blog page like this?
Copy template
Go to this repo
🔗 https://github.com/cotes2020/chirpy-starter- Click on
Use this templatebutton and thenCreate a new repository - Give the repo name as
<your_github_username>.github.io
Run it locally
- Clone the repo
- Install Ruby on your machine and verify using this code
1
ruby --v - Open the repo directory in terminal and run the code to install the dependencies
1
  bundle
- Run the website locally for testing
1
  bundle exec jekyll serve
Update the blog profile
- Open
_config.ymlfile in any code editor1 2 3 4 5 6 7 8 9 10 11 12 13 14
. ├── _config.yml <------- this file ├── _data ├── _plugins ├── _posts ├── _site ├── _tabs ├── assets ├── Gemfile ├── Gemfile.lock ├── index.html ├── LICENSE ├── README.md └── tools
- Change the
title,tagline,description, and your social usernames - Set
urlas1
https://<your_github_username>.github.io
- Push the updates to Github
Add your first blog
- Create new markdown file inside
_postsdirectory1 2 3 4 5 6 7 8 9 10 11 12 13 14
. ├── _config.yml ├── _data ├── _plugins ├── _posts <------- this directory ├── _site ├── _tabs ├── assets ├── Gemfile ├── Gemfile.lock ├── index.html ├── LICENSE ├── README.md └── tools
- file name should be in this format
1
  <YYYY-MM-DD>.your_blog_title.md
- Open the file in editor (like
vscode) and these two lines at the top1 2 3 4
--- categories: [Your, Categories] tags: [tags, related, to, your, blog] ---
- Then add rest of the content as write a markdown file
- Preview the blog post locally using this command
1
bundle exec jekyll serve - Commit the changes and push updates on Github
- Check your live website on
1
  https://<github_username>.github.io
This post is licensed under CC BY 4.0 by the author.